

Installing Dropped Axle in 47-55 AD 1st Series Chevrolet Pickup
By Jeff Smith
*******************(FOR REFERENCE USE ONLY)*******************
These are the steps that we documented as we lowered my 50 Chevy PU using a 4” dropped axle, modified steering arms, and lowering blocks from www.droppedaxles.com .
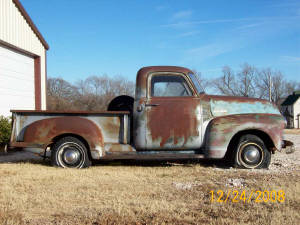
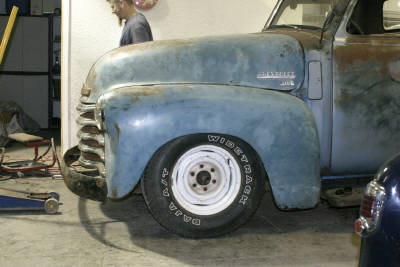
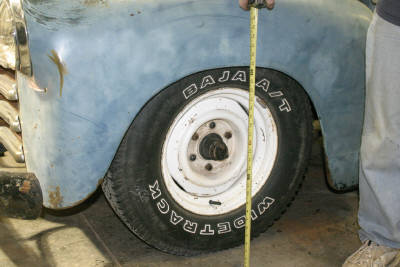
1. We took before pictures and measured a reference point on the pickup. I measured the distance from the ground to the center of the driver's side wheel opening and it was 30” before we started with the roller wheels/tires that I had borrowed.


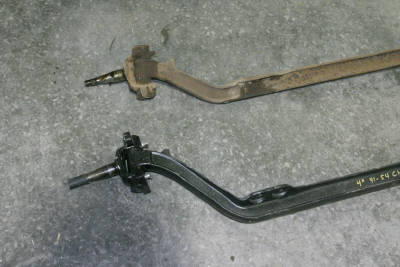
a. Reworked steering arms for use with newer style tie rod ends from Sid
b. 4x 37-64 Ford style tie rod ends (to use in making the steering links).
47" long tie rod and 12" long tie rod for drag link from Sid
c. 1- 1/2" thick lowering blocks for the rear from Sid
e. 4x new u-bolts and nuts for the rear

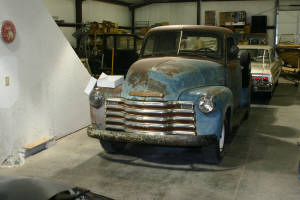
4. We decided to work on the front first.
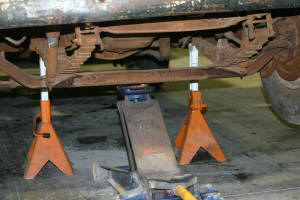
5. We blocked the rear tires to assure pickup didn't move once supported on jack stands.
6.Raised the front of pickup to give adequate access for removing axle, steering linkages, etc. and supported with adequate jack stands in a position that vehicle was stable and didn't keep us from removing any of the parts we would need to replace.


7. Removed front wheels and tires.
8. Sprayed all hardware to be removed with penetrating oil to help in removing.

9.Removed front brake drums/hubs to give access to four bolts that hold backing plates and brake assemblies to spindles.
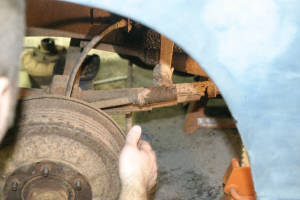


10. Removed steering link from pitman arm by first removing cotter pin on end of link, then by removing set screw out of end of joint using large screwdriver or chisel to unscrew.
Once set screw was backed out, ball could be removed out of joint by pulling link toward outside of pickup.


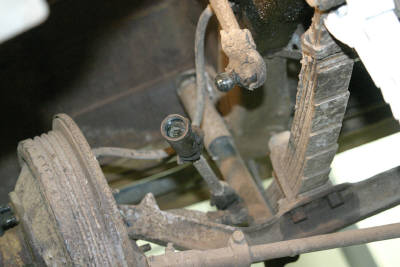
11. Removed all four bolts attaching backing plates and steering arms to spindles (both left and right sides) and cut brake lines to get backing plates out of way. If brake lines are good, you would
want to tie brake assemblies up taking weight off of brake lines so as to not damage them. If you are re-using original backing plates and brakes, be sure to pay attention to placement of spacers on bolts for re-assembly.
I chose to upgrade to the newer style Bendix brakes, so I wasn't concerned with keeping any of the old brake parts on this truck.

12. Removed steering linkage completely from under pickup.


13. We had already installed another set of spindles on the axle using new kingpins, so we didn't need the other spindles at this time.
If re-using spindles on new axle, remove kingpins to remove spindles.
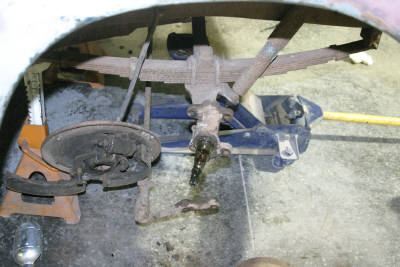
14. Placed jack under axle to sufficiently support weight of axle being sure not to take weight off of jack stands and rest of pickup.

15. Removed nuts on bottom side of u-bolts that secure axle and shock mounts to springs.
16. Once nuts were removed, removed four u-bolts that secured axle to springs.
17. Carefully removed axle from pickup by letting jack down and supporting axle on ends.
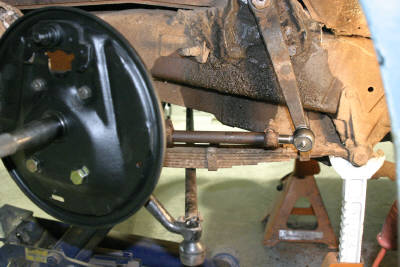
18. Since I wanted a little softer ride and a little more than a 4” drop, I chose to remove a couple leaves out of the original springs.
19. Laid original axle next to dropped axle for a visual comparison of amount of drop.

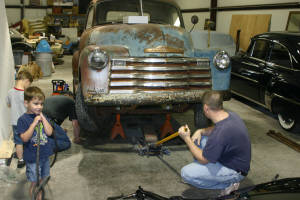
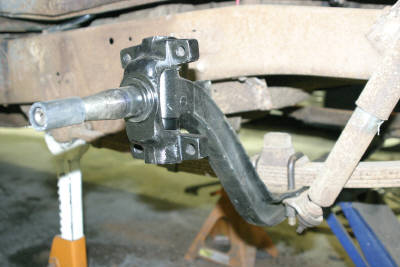
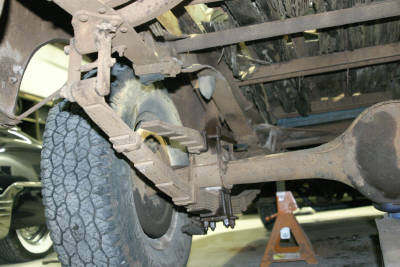
20. Removed pitman arm from steering gearbox using pitman arm puller so we could rework it for use with later style tie rod ends (started trying to pull pitman arm using ball joint fork as you
can probably see from the pic…bad idea since it got stuck on the shaft and we had to struggle getting it back off and out of the way to use the right tool!)
21. Reworked pitman arm by removing ball, welding up hole, drilling it back out using an 11/16” drill bit, and then reaming out the hole with a 7 degree taper.
22. Re-installed pitman arm on steering gearbox.


23. Cleaned u-bolts and nuts that secured axle to springs for re-assembly. My u-bolts had some areas where the rust had eaten away on them, so I will go back
and replace the hardware I used on my pickup before getting it on the road. I just hadn't planned ahead well enough to have it before the install.
24. Installed new axle/spindle assembly by using the reverse order of disassembly instructions above.
25. Secured axle with cleaned u-bolts and nuts

26. Cleaned up backing plates off newer pickup so I could convert to Bendix brakes.
27. Cleaned all hardware that secured the brake backing plates and steering arms to spindles.
28. Installed brake backing plates and modified steering arms (because I wanted to change to the newer style tie rod ends on this pickup) using cleaned hardware.


29. Replaced all brake parts with new.
30. Installed brake drums/hubs.
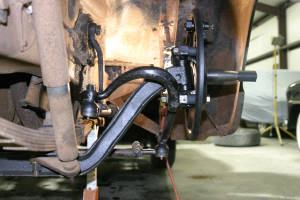
31. Installed 12” long tie rod between pitman arm and steering arm.


32. Installed 47” long tie rod between right and left steering arms.
35. Then, we got to put the pickup on the ground and see the difference we had made in ride height!
Wheel well was now at 24-1/2”, so it went down 5-1/2” which is what I was looking for.


36. Next, we would move to lowering the rear of the pickup.
37. Once again, we jacked up the pickup and supported it with adequate jack stand.

38. Removed wheels and tires for easier access to removing parts.
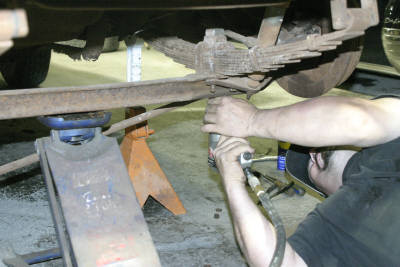
39. My pickup had been an old farm truck and had a quite elaborate overload spring setup on it. So, the first step was to get rid of all that stuff.
40. Then, we removed all the nuts on the bottom of the u-bolts holding the rear axle to the springs.
41. Removed the u-bolts securing the axle to the springs.
42. Once again, I was looking for a softer ride and a little more drop, so I removed a couple of leaves from the springs.
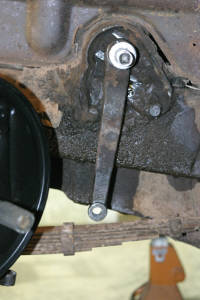
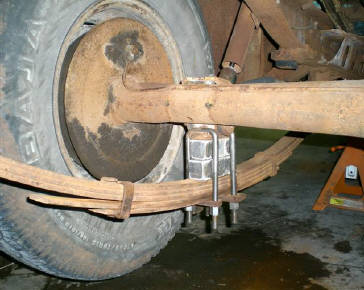
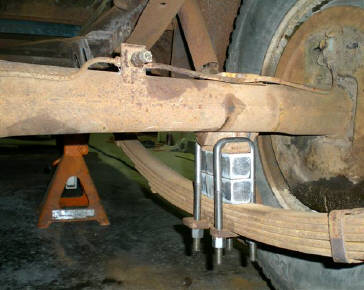
43. Jacked rear axle up making room for installation of the blocks.
44. Installed blocks and new longer u-bolts and nuts and tightened everything up making sure to line up tie bolt in spring with holes in blocks. Nostalgia Sid's now has 3" tall blocks


45. Replaced rear tires and put on ground to see the finished product.
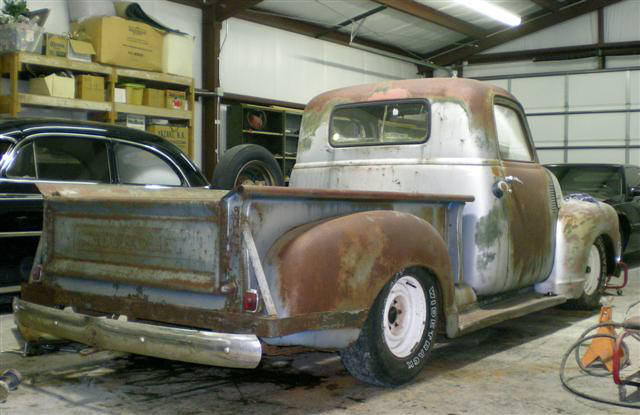

46. Then, we had to clean up a little and push the pickup outside so we could stand back and get the full picture.
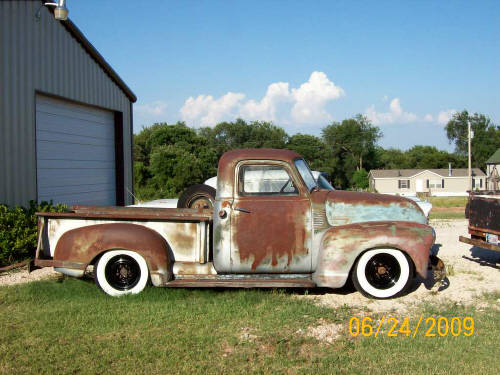
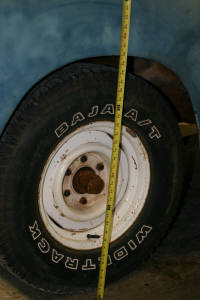
47.Now I just need to do a whole lot more work to get the truck on the road. It's at least a start and motivation to get it sitting right. Next,
I am going to have to get the Baja A/T's off and get my new Firestone whitewalls and powdercoated wheels on for a little more motivation.
